
Service Log — YQB
Robinson R44 — Ceramic Coating
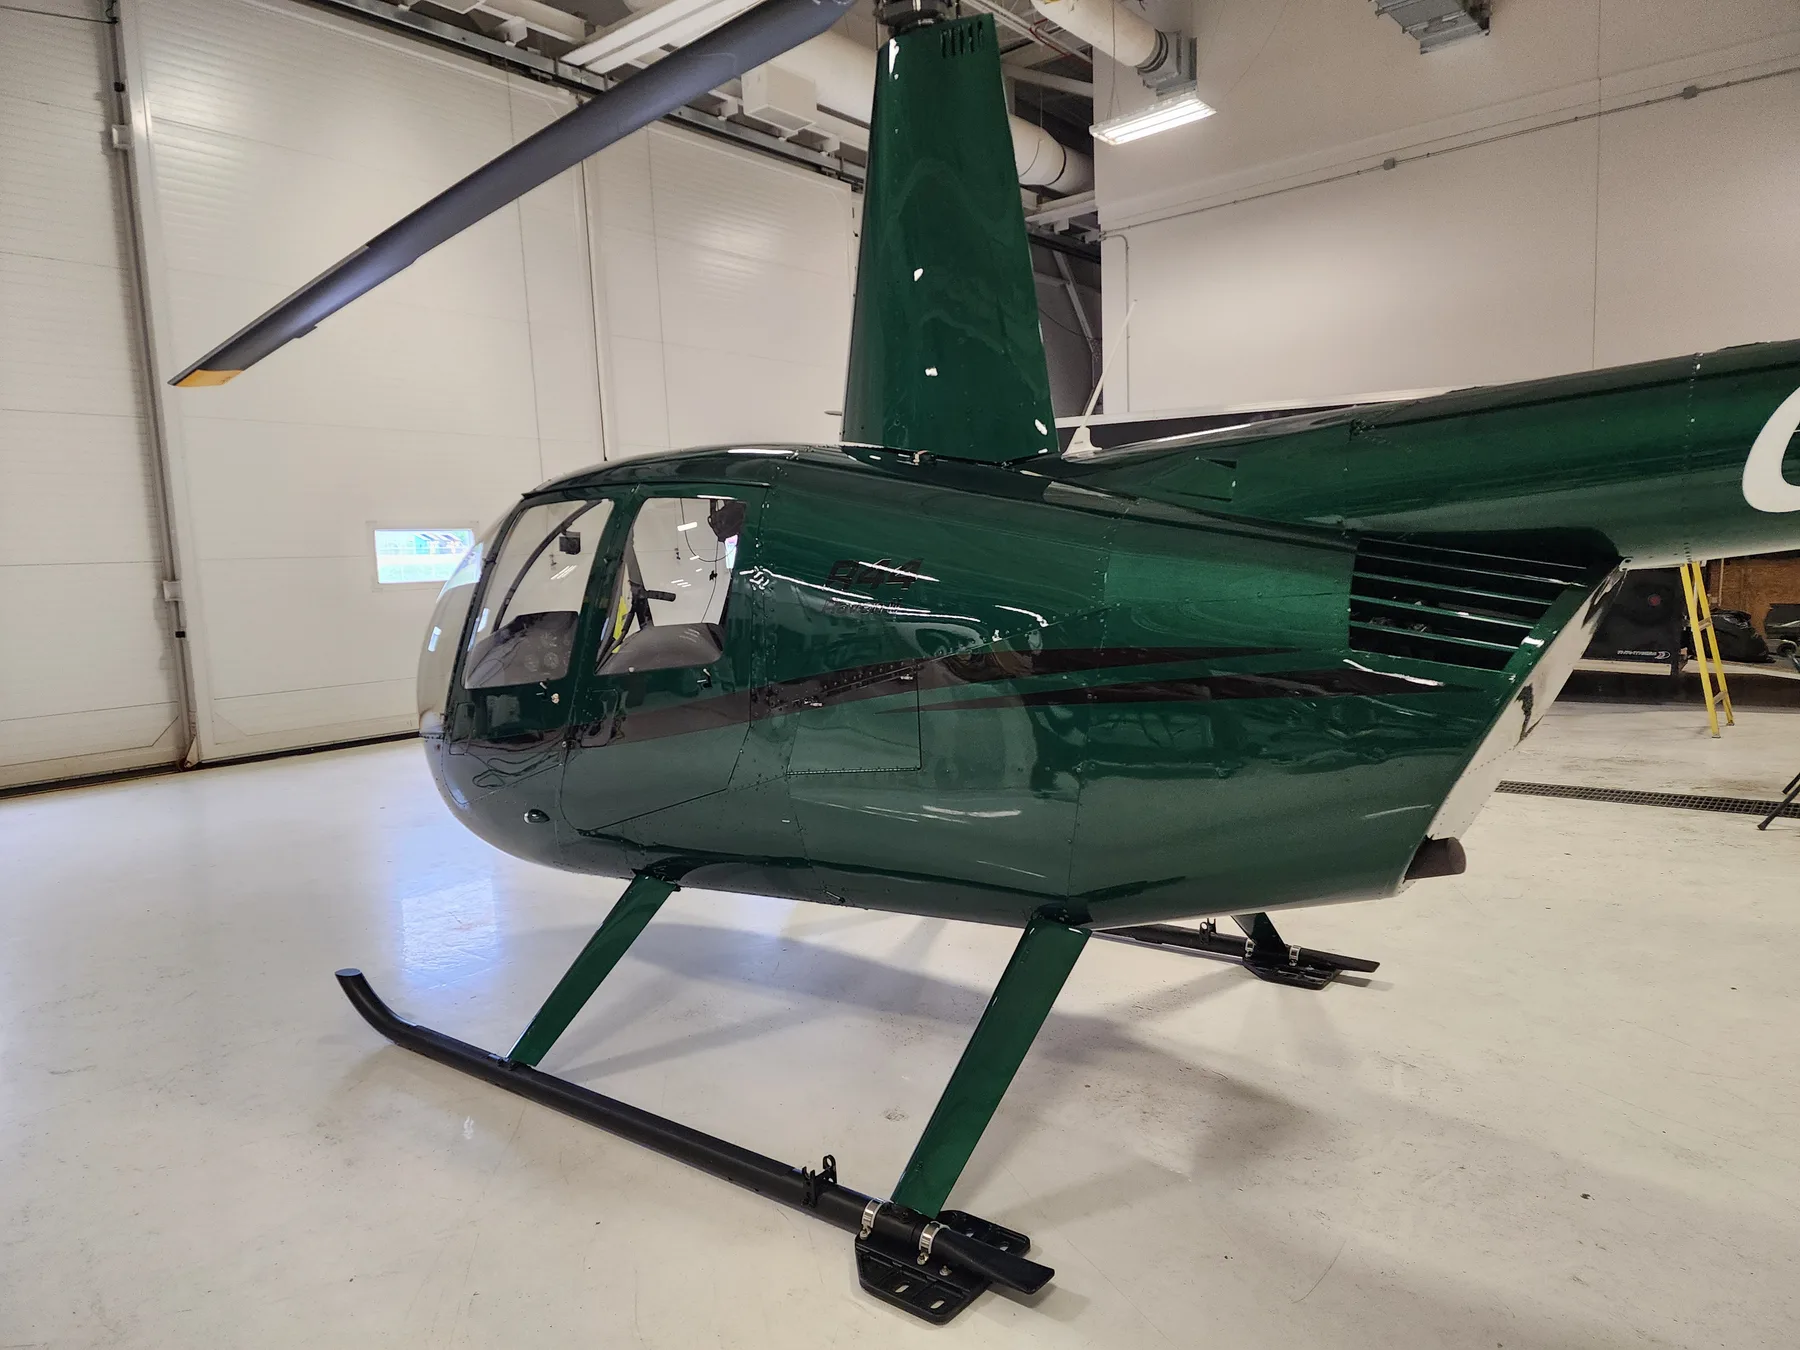
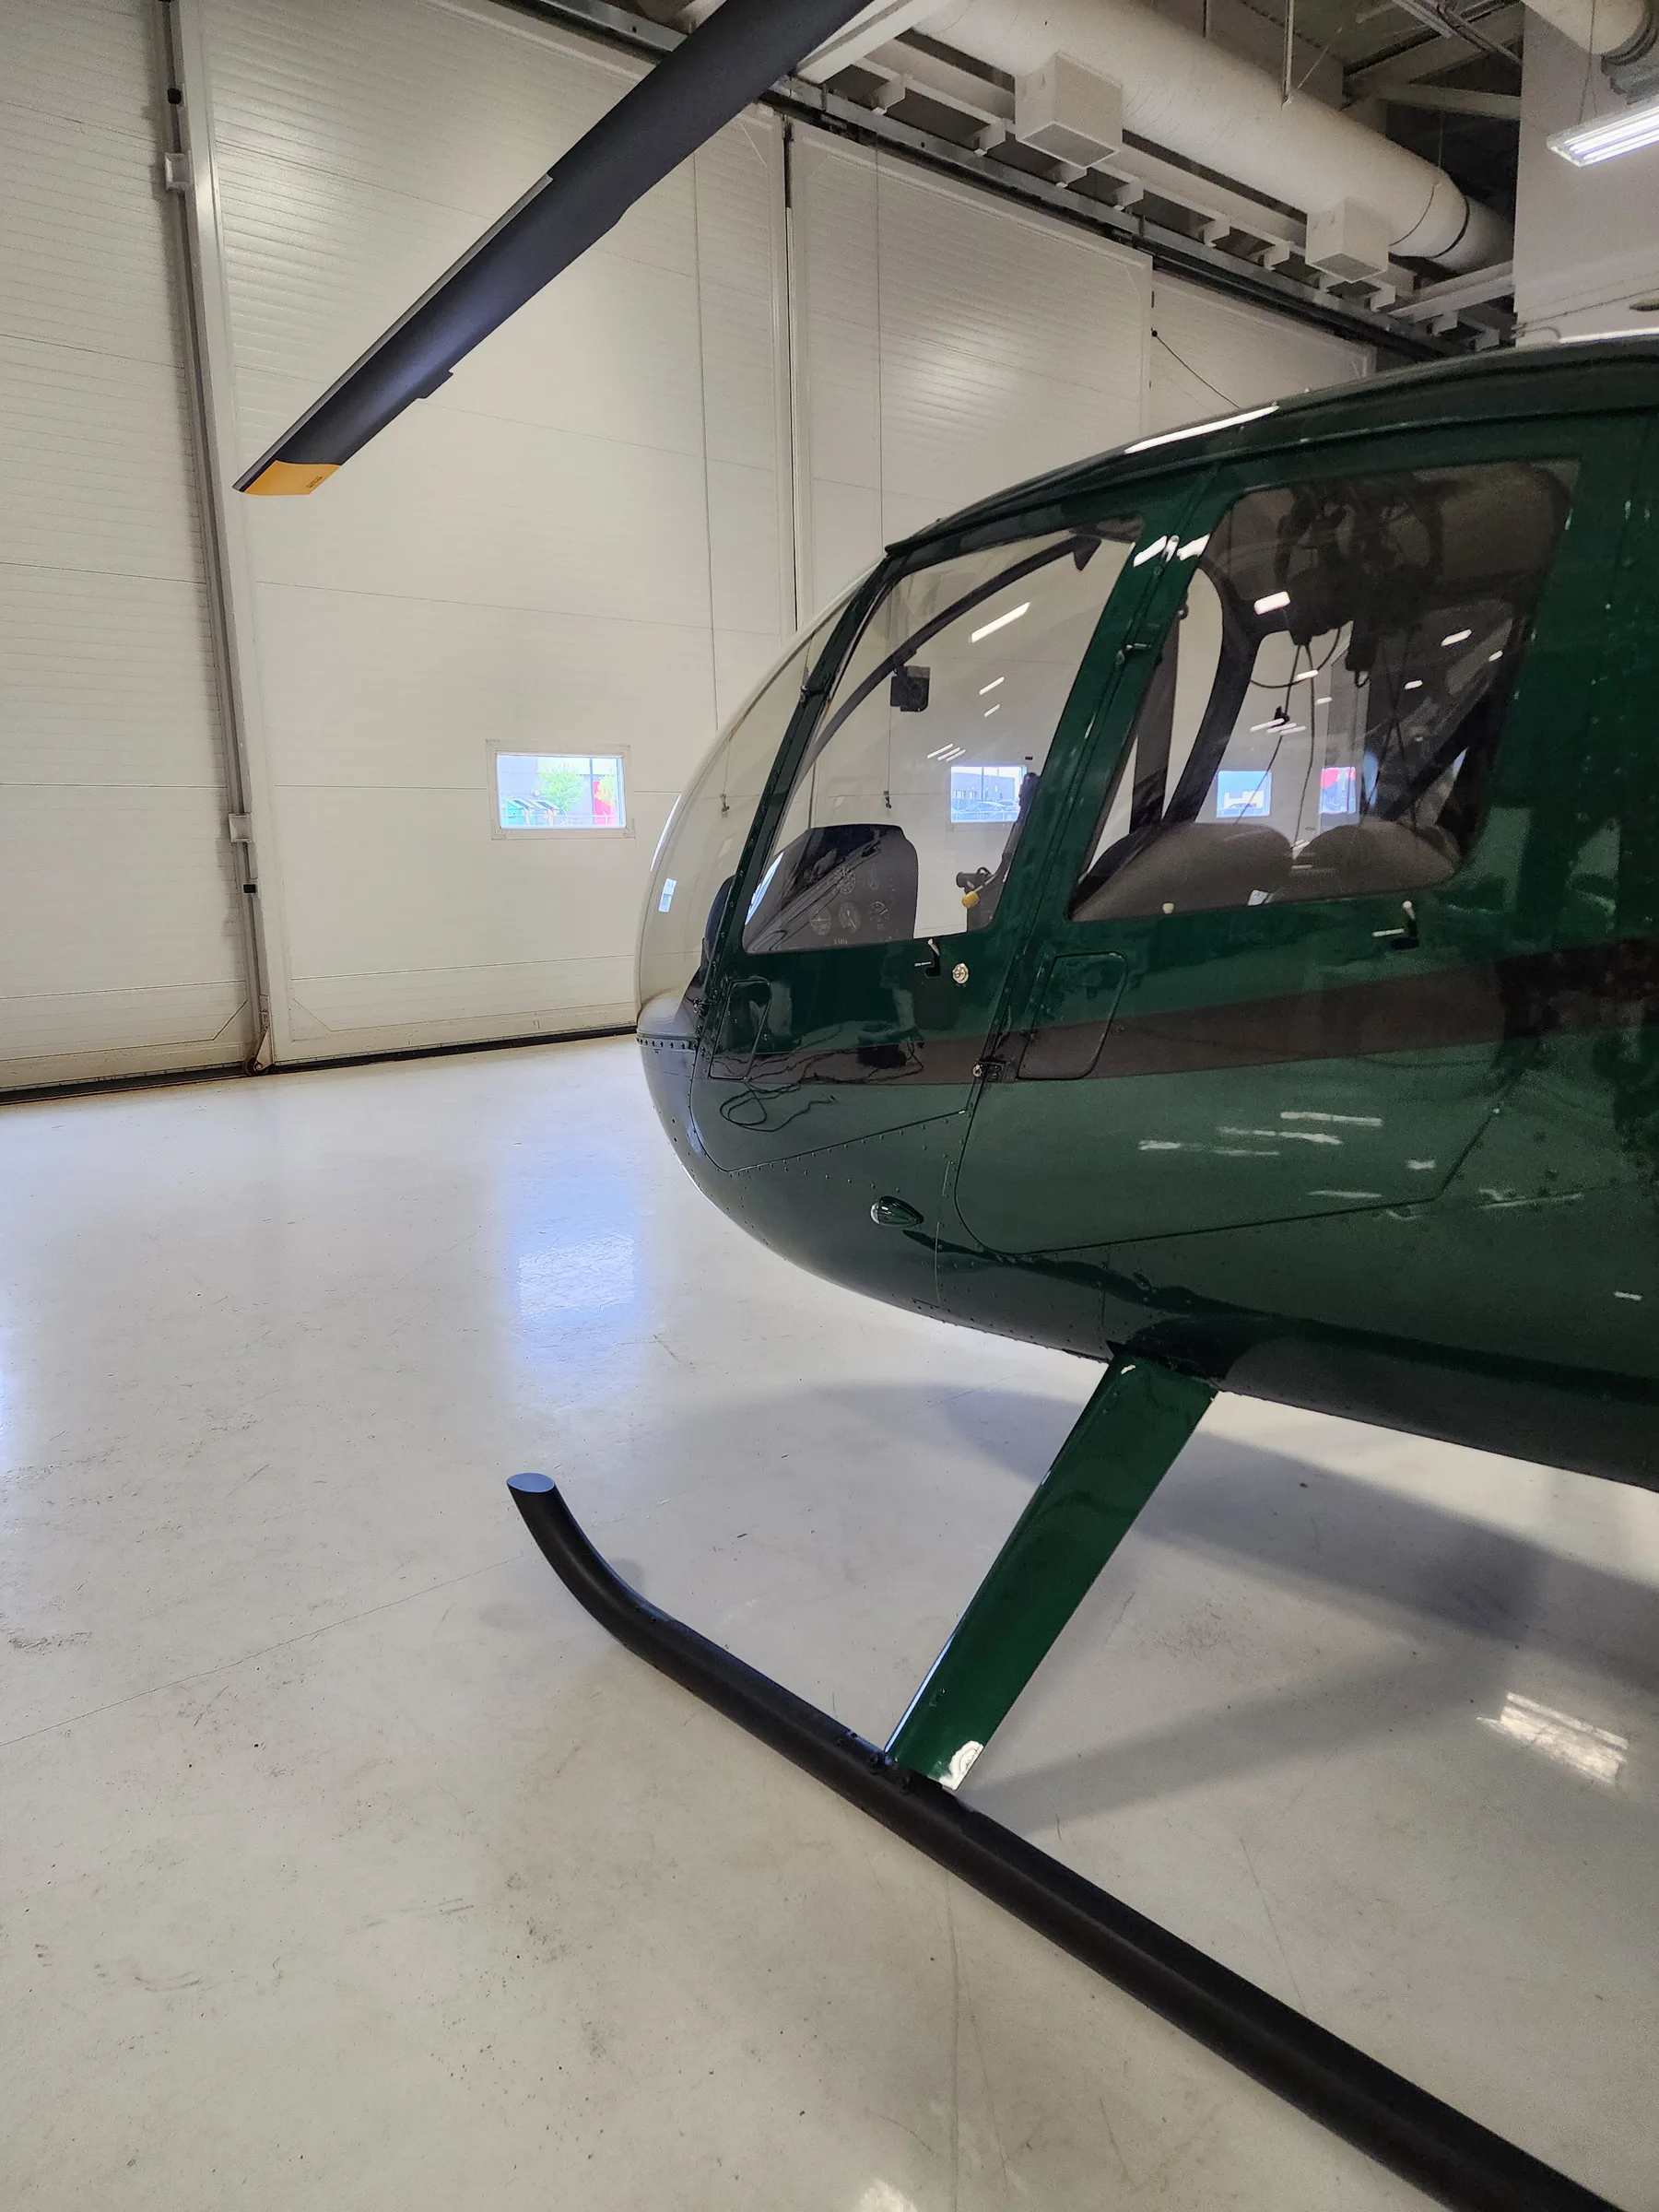
Ceramic coating on a freshly painted Robinson R44, applied alongside the rotor-wing specialty shop that maintains it.
The Challenge
This Robinson R44 wasn't coming in for correction work. It had just gone through its annual maintenance and a fresh repaint at a local rotor-wing specialty shop, and their team had already washed and decontaminated the airframe before I arrived to help with the ceramic coating.
That changes the job. There's no old grime or oxidation to hide a rushed prep. The surface was about as close to factory-new as an aircraft gets, so any shortcut would have shown immediately. The one exception was the nose, which had picked up bug residue that needed to come off before prep could start.
The Approach
I started by removing the remaining bug residue from the nose, then worked through the airframe panel by panel, paint-prepping each section so the ceramic coating would bond evenly. It's the same discipline we bring to every aviation surface, just adapted to a helicopter's compound curves instead of a jet's flatter panels.
From there, we applied a professional-grade ceramic coating to every exterior panel, deliberately leaving out the rotor blades and glass, which call for their own separate care. The full application took about four hours.
Partway through, one panel started to flash-cure before it had been fully buffed out. We caught it early enough to reactivate it with a touch more product and work it back to a clean finish with a microfiber towel before it could set. That kind of timing only comes from knowing how a coating behaves, not just how to apply it.
The Result
The gloss difference was immediate and visible against the fresh paint, the kind of finish that's obvious standing next to the aircraft. Beyond the coating itself, it was a chance to work directly alongside the team that maintains this helicopter day to day, on their own ramp.
Photography
Services Performed
- Ceramic Coating